6 easy recipes to make with hot sauce
Recipes
-
09.10.26
Suggestions
How to make your own gherkins?
Sommaire
Key takeways:
|
Homemade gherkins are better than shop-bought ones on every count: the crunch, the acidity, the fragrance of the aromatics. The pop of the lid as you open it, the sharp smell that escapes, the resistance under the teeth, no supermarket jar faithfully reproduces any of that.
The good news: the technique is straightforward. You need the right gherkins, the right vinegar, a well-managed salting step, and a few tips so the texture holds over time. This guide covers everything from the brine to storage, including the mistakes to avoid.
The ingredients for homemade gherkins
The choice of gherkins is the most important decision in the recipe. Small and very firm, harvested at the gherkin stage, between 7 and 10 cm maximum: at this stage the flesh is at its densest and the crunch will be preserved after jarring.
A gherkin left too long on the vine becomes large, soft, and full of seeds, it will never give a good result in a jar. If you are harvesting progressively, keep the unwashed gherkins in the refrigerator until you have enough to fill a jar. They will keep for several days this way without losing their firmness. Coarse salt is the only other ingredient needed for the purging step.
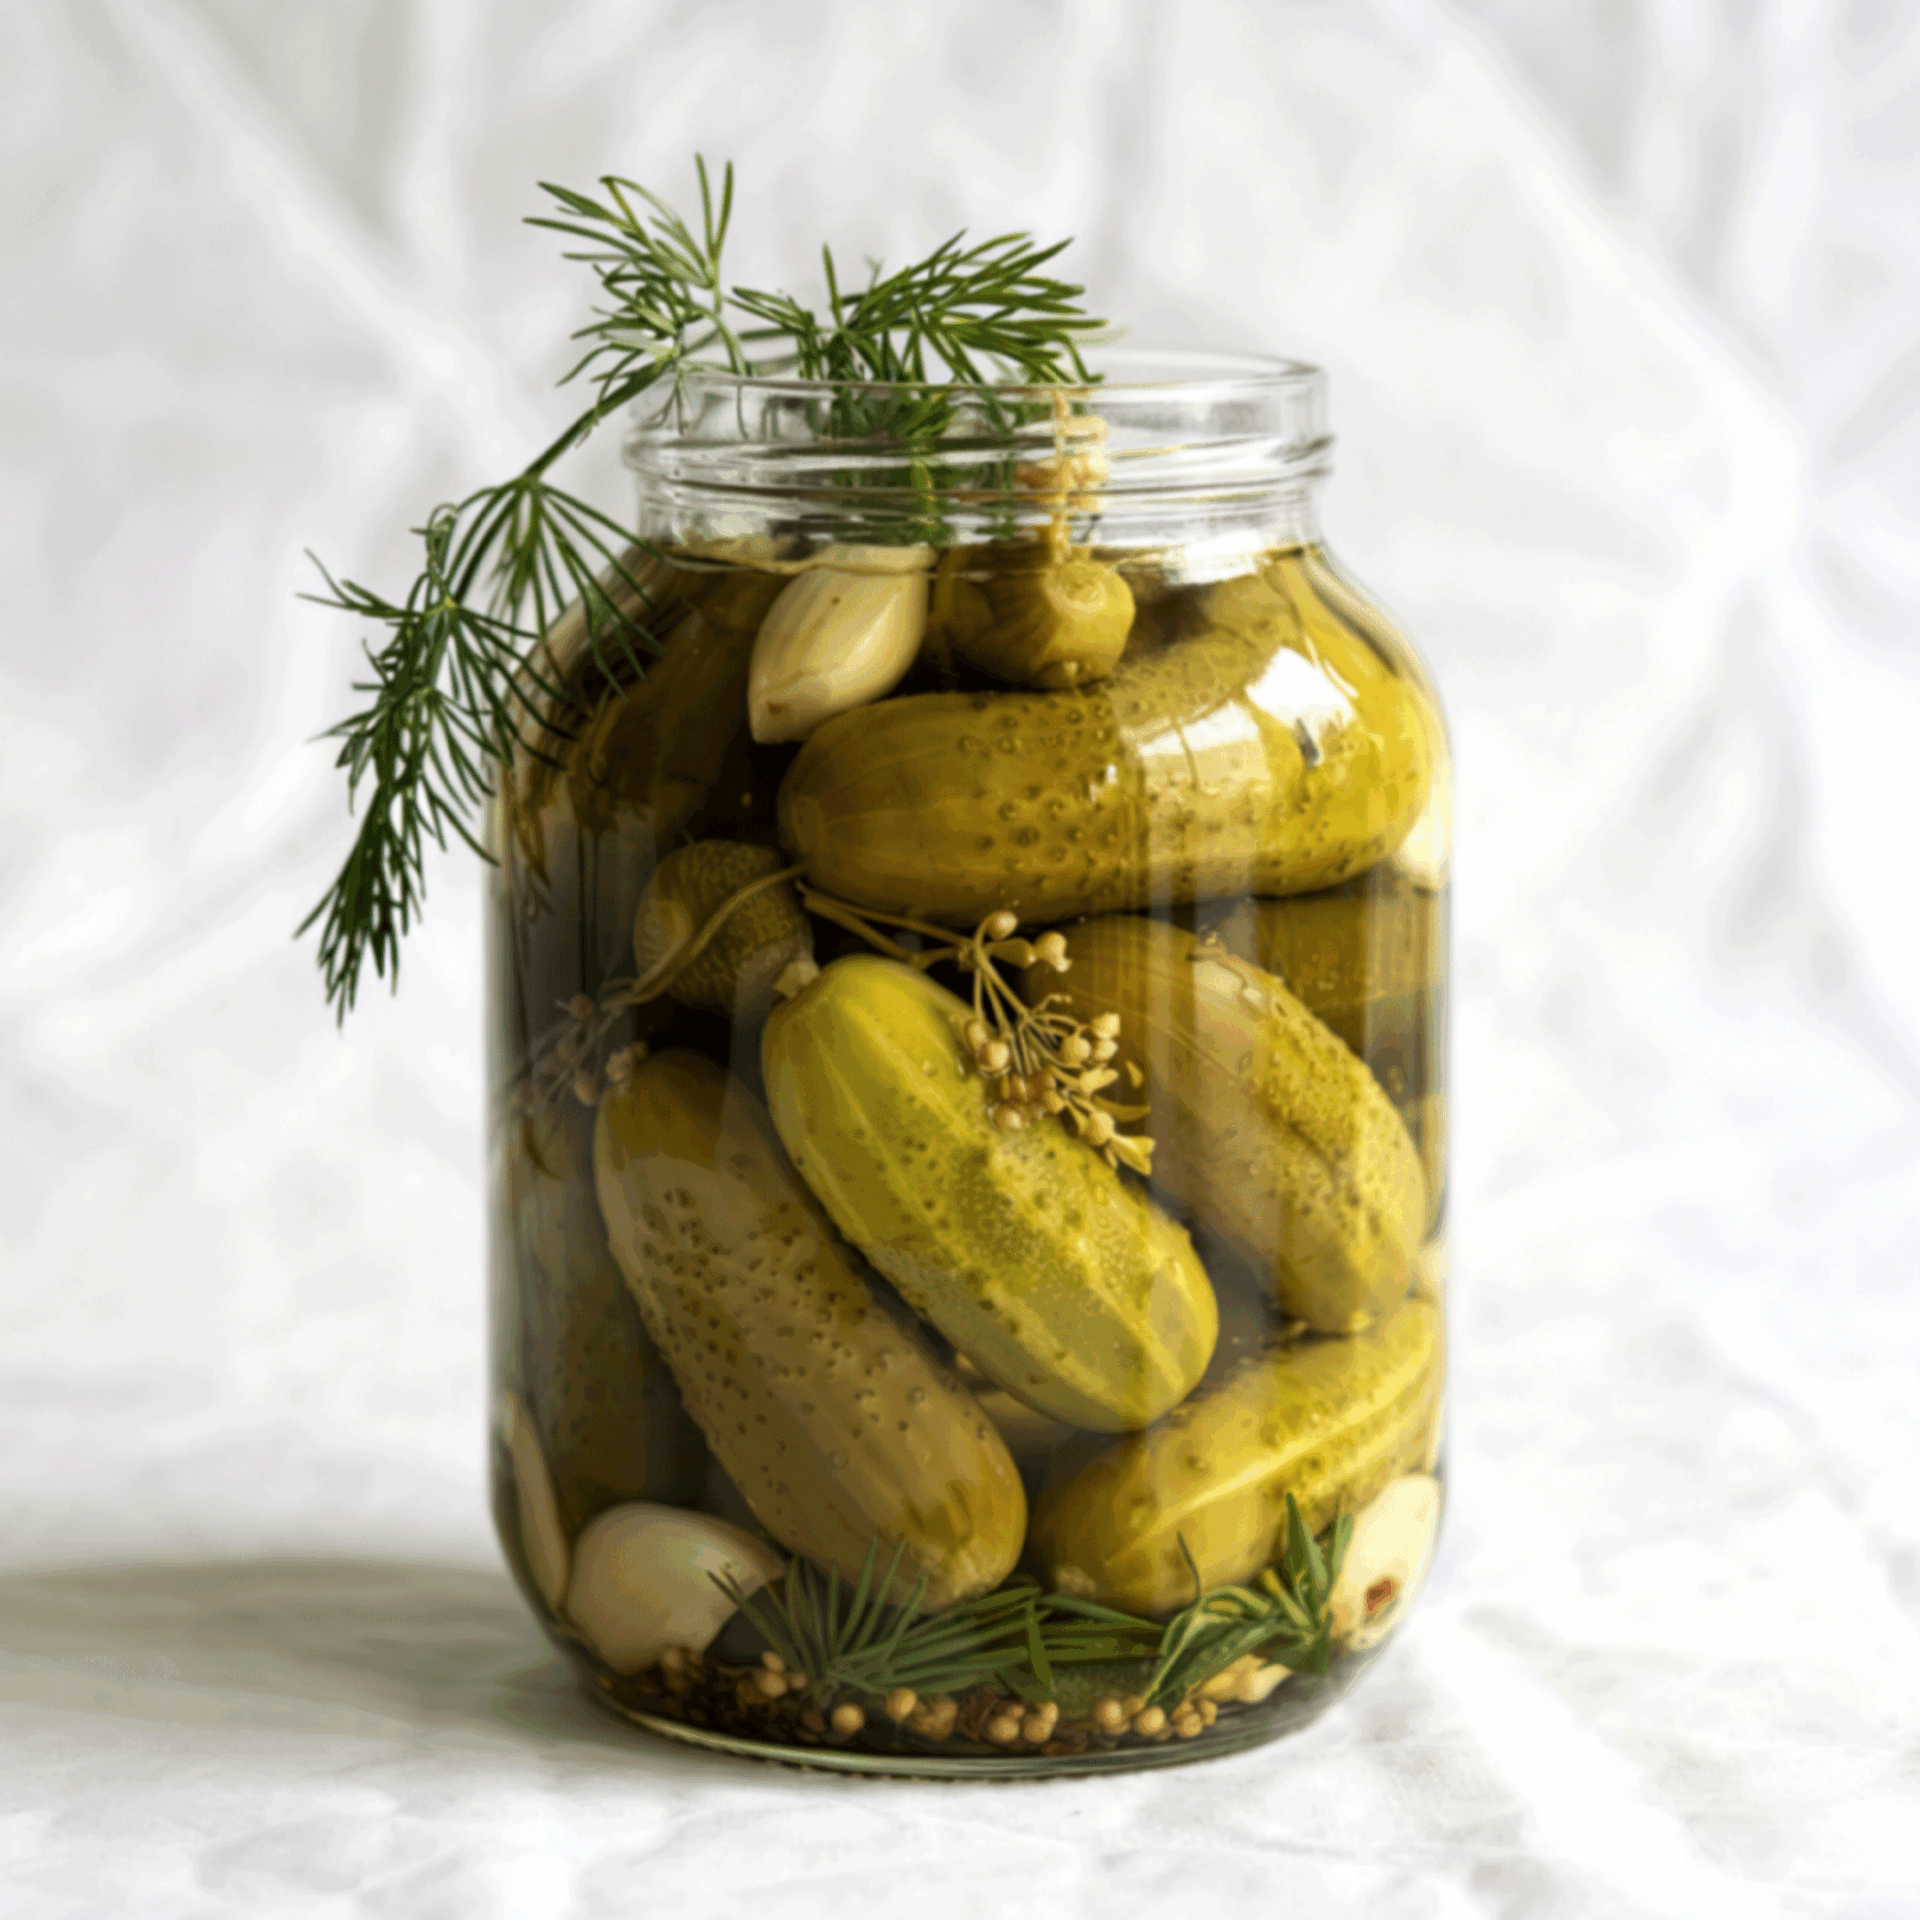
The brine consists of two ingredients: vinegar and water, in precise proportions. Herbs and spices are then added to give each jar its own distinctive flavour profile. Classic ingredients include mustard seeds, tarragon, garlic, white onion or shallots, and black peppercorns. However, the combination can vary according to taste: dill, bay leaves, garlic, whole chillies, and long peppers.
Discover our flavoured vinegars to explore brines with more original flavour profiles.
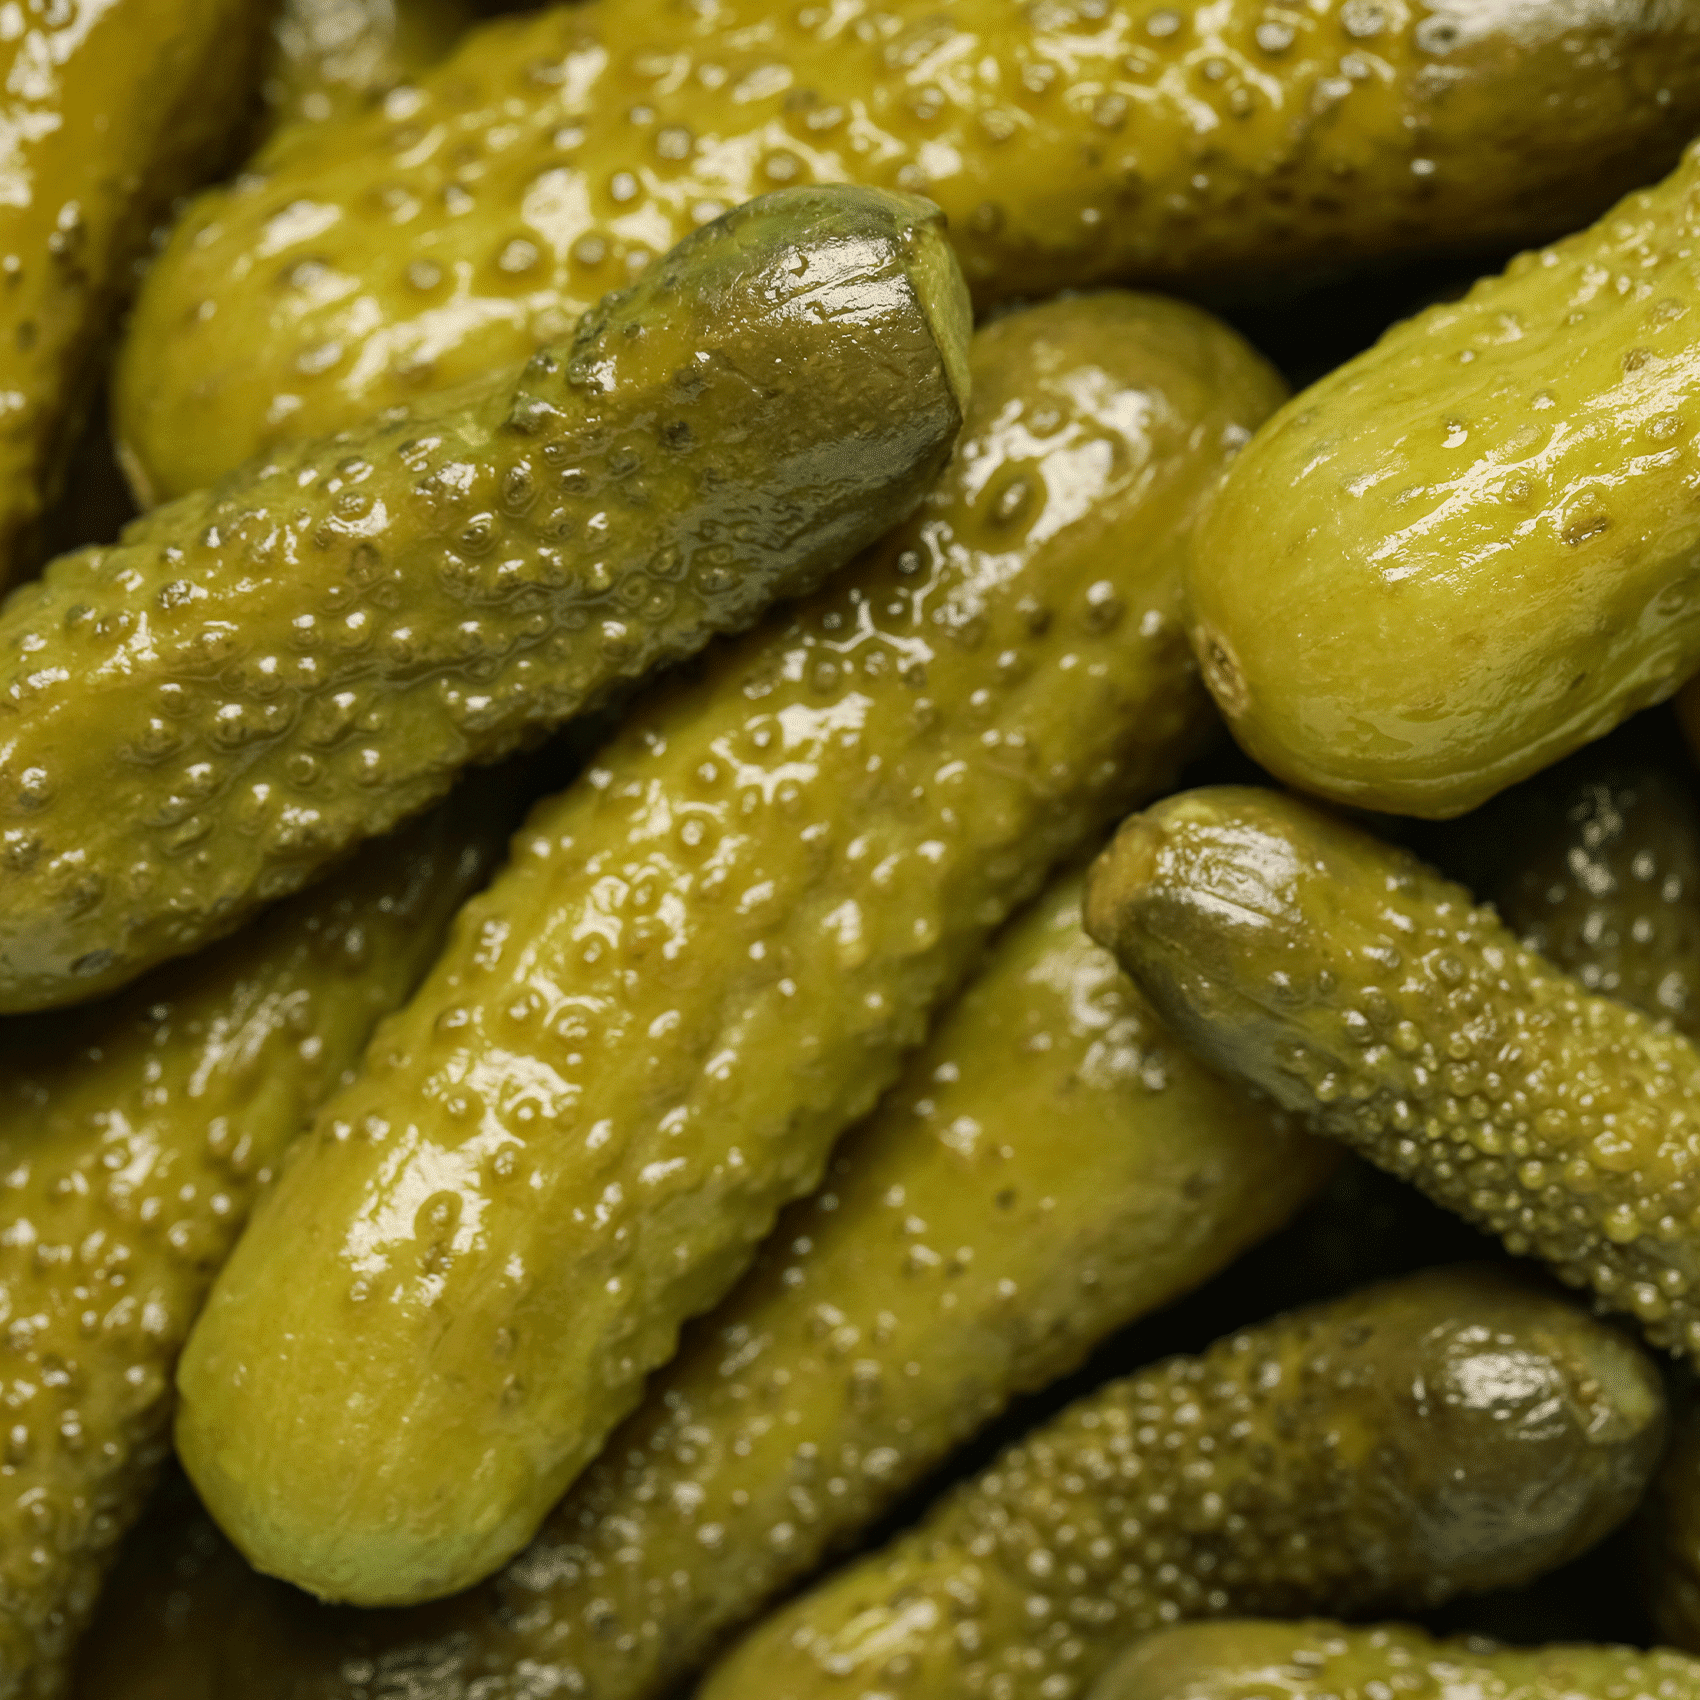
Which vinegar to choose for gherkins?
Vinegar is the pillar of preservation and the primary determinant of taste. Its acidity prevents bacterial growth and fixes the texture of the gherkins. The choice of vinegar therefore changes both the aromatic profile and the final colour of the jar.
White wine vinegar is the most common choice — and for good reason. Its neutral taste allows the aromatics to express themselves without interference. Its standard acidity — between 8 and 10% — is effective for preservation. The colour of the gherkins is perfectly preserved. The recommended proportion: 50% vinegar, 50% water for a balanced result. For a sharper taste, increase to 60% vinegar and 40% water.
Cider vinegar is slightly gentler than white wine vinegar, with fruity notes that give a more complex aromatic profile. It is a good option for those who find white vinegar too aggressive. One thing to note: it can give the gherkins a very light golden tinge, which is not a significant issue.
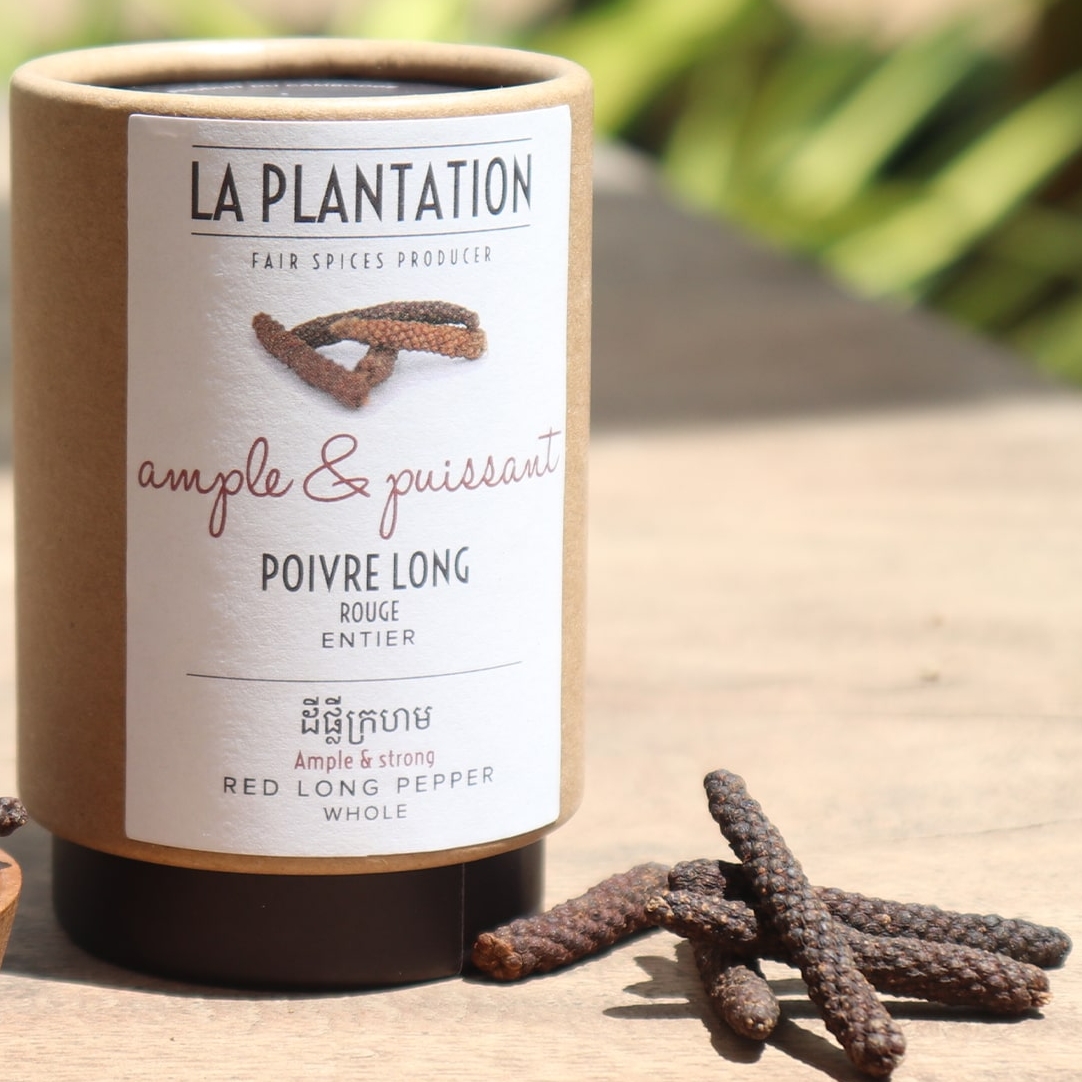
Replacing standard white vinegar with a flavoured vinegar is the simplest way to completely transform the flavour profile of a jar. Red Long Pepper Vinegar adds a gentle, woody warmth right from the brine stage — the gherkins gradually absorb this flavour over the weeks they are left to rest. Chilli Bird Vinegar offers a spicier version, with a distinct heat that develops as soon as you open the jar.
In both cases, stick to the same proportions as for a standard vinegar: 50 per cent vinegar, 50 per cent water. The flavour profile changes, but the technique remains the same.
Red wine vinegar turns gherkins a pinkish-purple colour, making them unappetising visually. Balsamic vinegar is too sweet and too thick to work in a preserve, it is not suitable for this use.
| Vinegar | Taste | Colour preserved | Best for |
|---|---|---|---|
| White wine vinegar | Neutral, sharp | Yes | Classic recipe |
| Cider vinegar | Soft, fruity | Lightly golden | Rounder version |
| Melfor | Soft, fragrant | Yes | Alsatian-style recipe |
| Red wine vinegar | Strong | Tints pink/purple | To avoid |
| Balsamic | Sweet, thick | Colours dark | Not suitable |
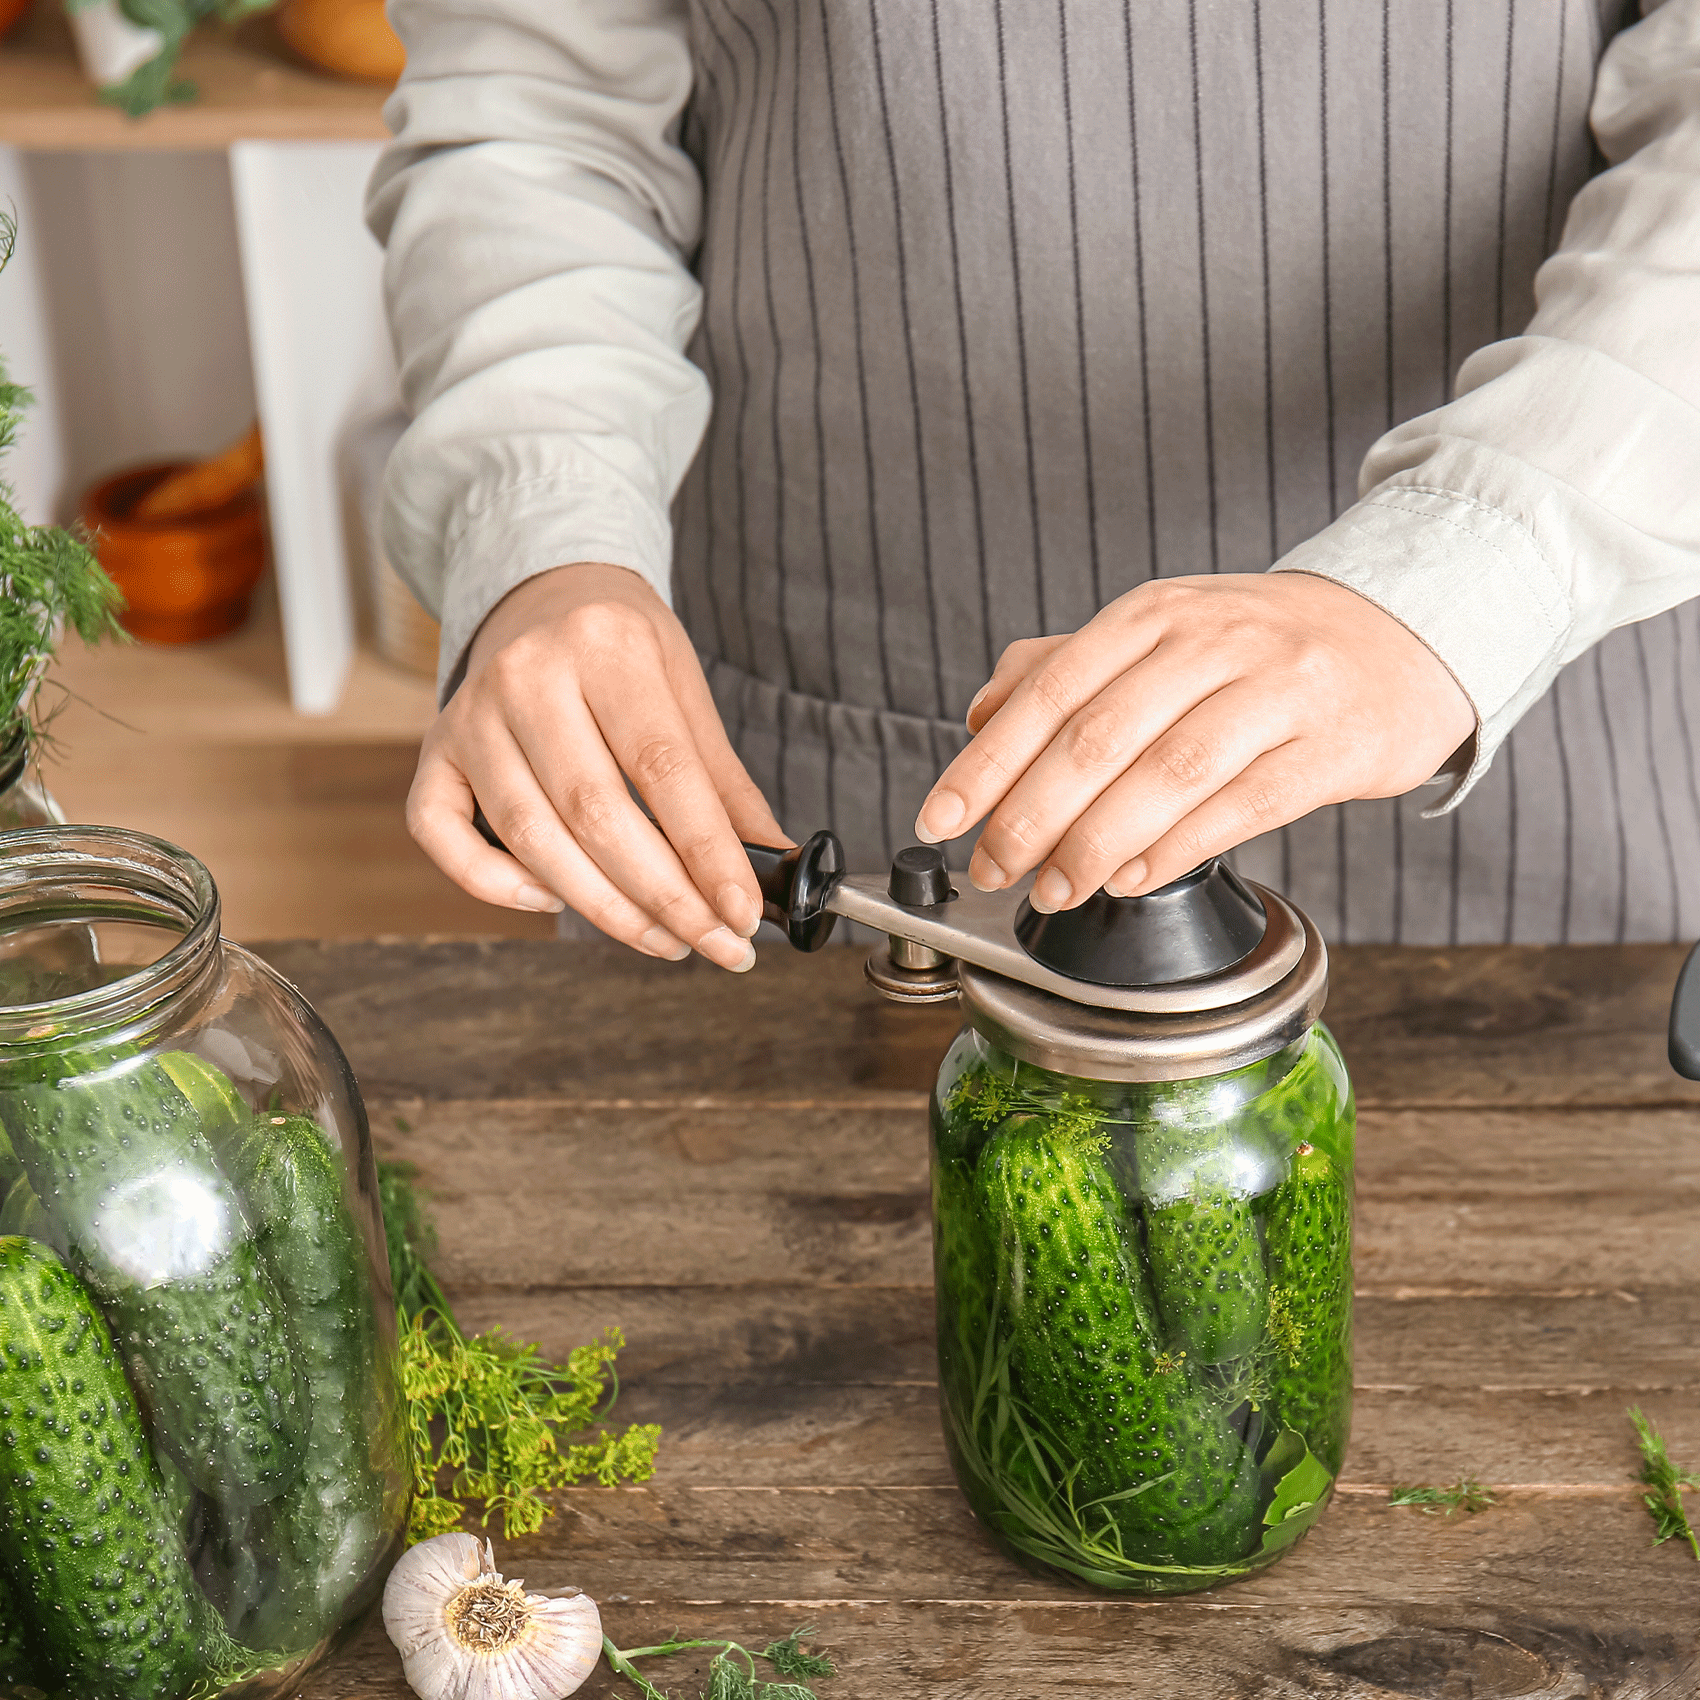
Homemade gherkins: step-by-step recipe
The purging step is what determines the final crunch. Wash the gherkins by scrubbing gently under cold water to flatten any small bumps, then dry them thoroughly in a clean cloth. Cover them completely with coarse salt and leave to rest for 1 to 3 hours in the refrigerator.
The duration matters. Beyond 3 hours, the salt extracts too much water and irreversibly softens the texture — this is the most common mistake reported by home cooks. After purging, wipe the gherkins carefully without rinsing them under water: rinsing water would dilute the brine and weaken the preservation.
The brine is prepared hot. Measure the quantity of liquid needed for the size of your jars, then combine vinegar and water in the desired proportions. Bring to the boil in a saucepan and let it boil for 1 minute. Pour it over the gherkins while boiling: the heat plays an important role in preservation and in the initial penetration of the aromas.
Jarring requires a little method. First, place the aromatics in each clean jar: tarragon, mustard seeds, sliced white onion or shallot, a few pink peppercorns. Then add the gherkins without packing them tightly, so the brine can circulate freely between them. Pour the boiling brine until the gherkins are completely covered, seal hermetically, and turn the jar upside down immediately. Leave to cool upside down overnight — exactly as you would with jams.
How to add flavour to your homemade gherkins?
Herbs and spices are what really set a homemade jar apart from a shop-bought one. The classics — mustard seeds, tarragon, onion — do the trick. But a few well-chosen spices can completely transform the flavour profile of the jar.
Pepper blends particularly well into a brine. A few grains of Kampot Black Pepper PGI or Ratanakiri Black Pepper infuse slowly and impart a gradual, woody warmth. Red Long Pepper, with its woody and slightly sweet notes, creates a more original flavour profile — two or three whole segments are enough.
Chilli adds heat without overpowering the flavour. One or two whole bird’s eye chilies slipped into the jar subtly enhance the brine. The result is a gentle warmth on the back of the palate, not a fiery pickle.
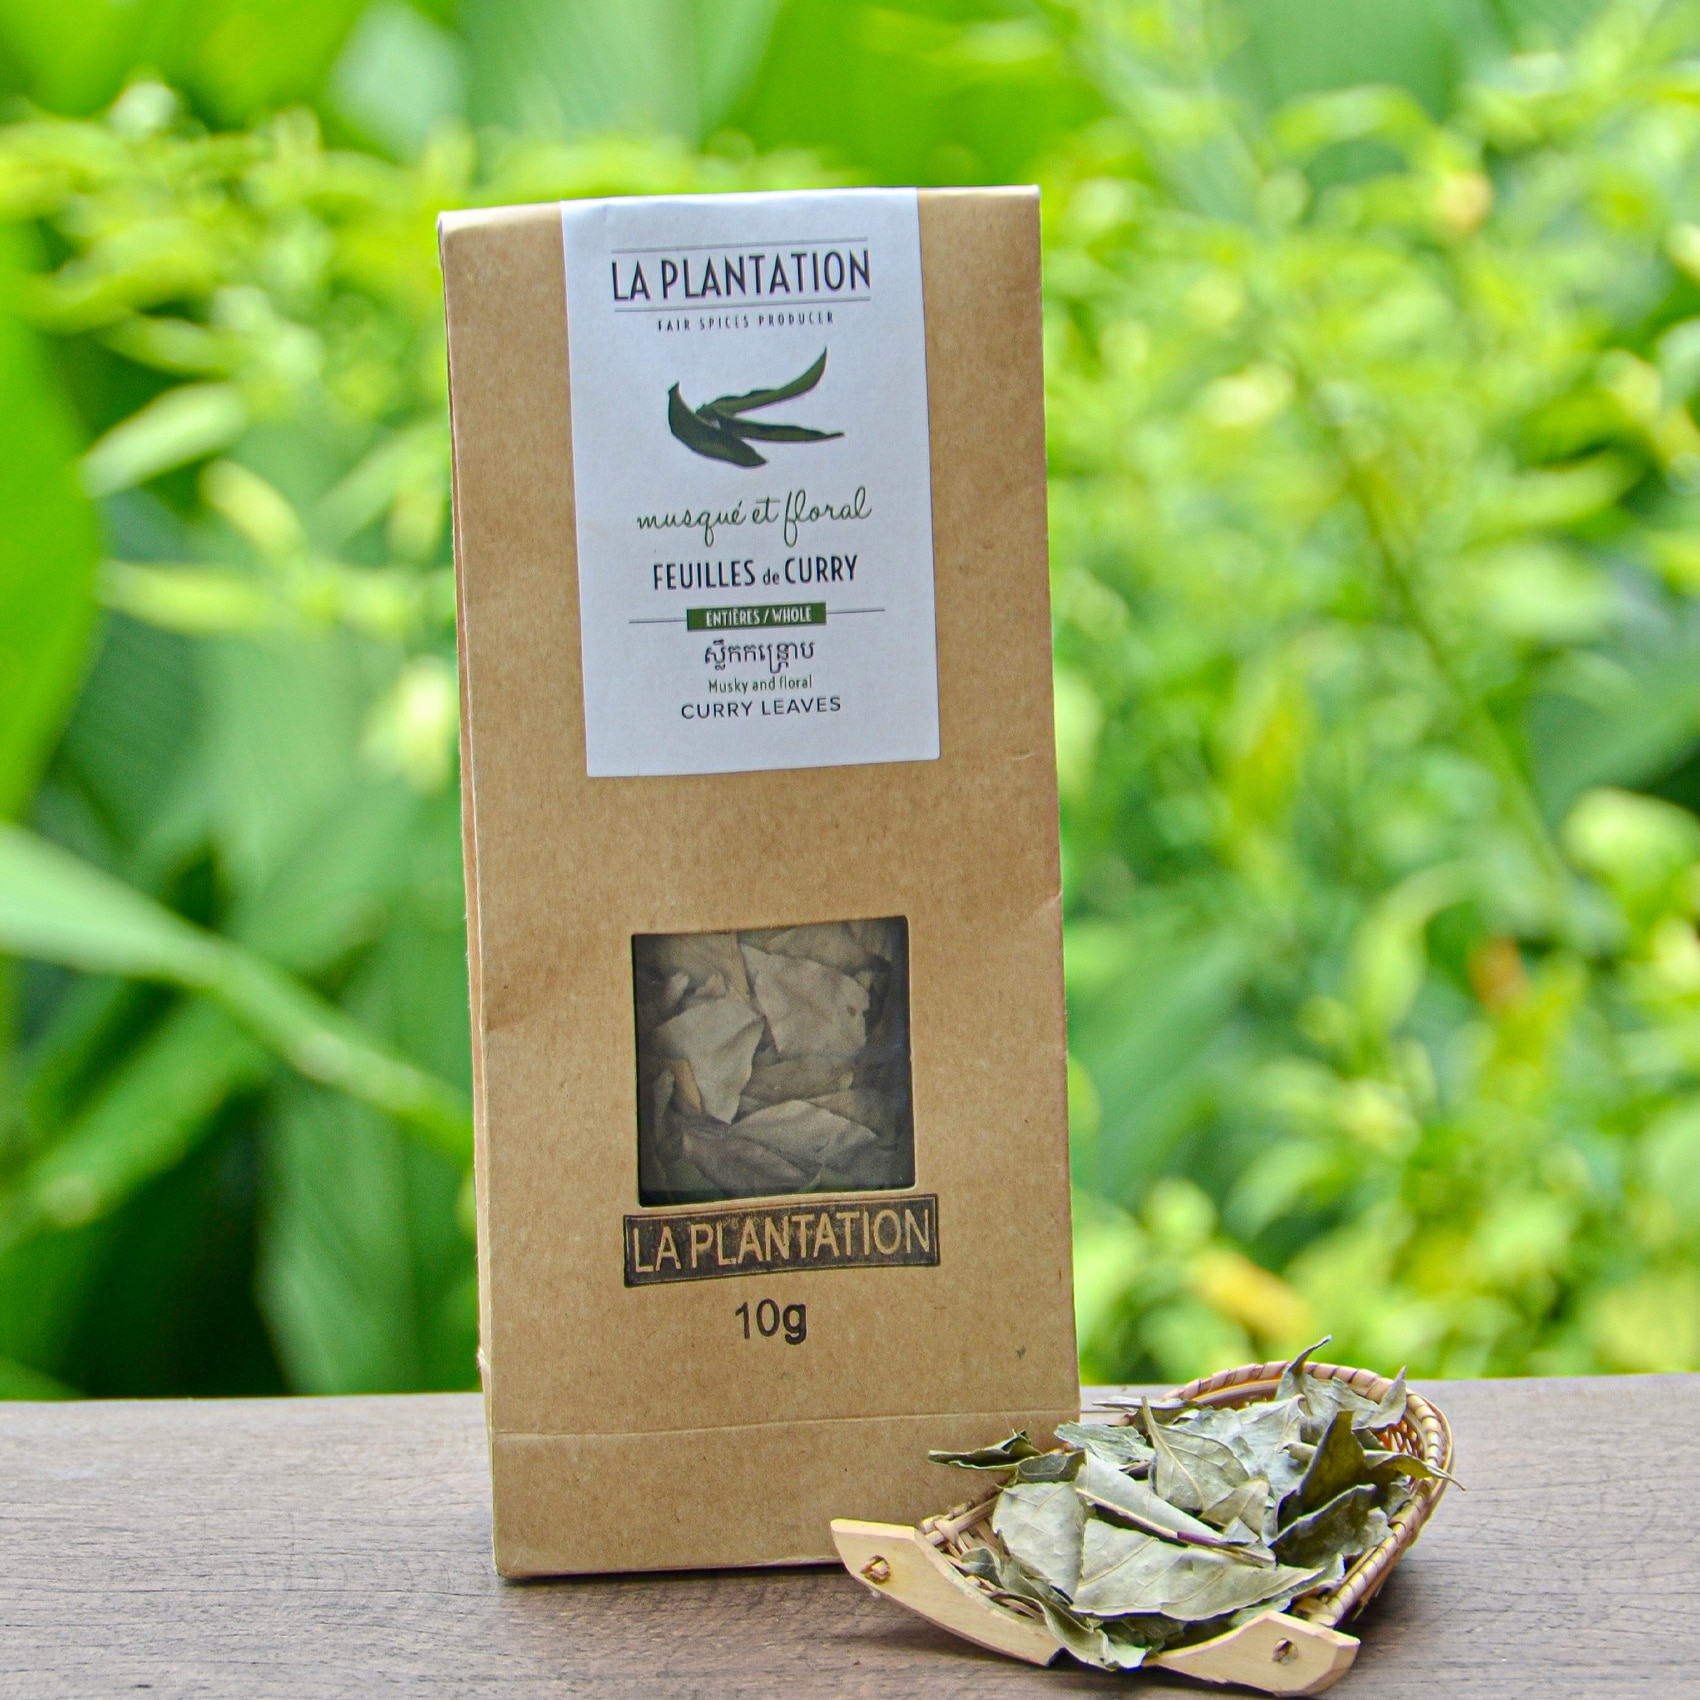
Curry leaves (kaloupilé) are the most unexpected addition — and one of the most effective. A few fresh or dried leaves in the jar add a slightly lemony and herbaceous aromatic note, very different from the classic bay leaf they can replace.
The rule that applies to all these spices is to add them whole to the jar before pouring in the brine. They infuse gradually over the weeks of resting, and their flavours develop without ever becoming overpowering.
Tips for truly crunchy gherkins
The crunch is what separates a great homemade gherkin from a disappointing one. Three factors determine it.
The quality of the gherkins comes first. Small, firm, harvested at the right stage — this is the baseline condition that nothing can compensate for after the fact.
The purging duration comes second. Between 1 and 3 hours in salt, no longer. It is the simplest rule, and the most frequently forgotten.
Natural tannins come third. Adding a vine leaf or oak leaf to the jar is an old and effective trick: their natural tannins firm up the skin of the gherkins during storage. Horseradish produces the same effect and is easier to find at most supermarkets. Also avoid packing the gherkins too tightly into the jar, they need a little space so the brine can circulate properly around each one.
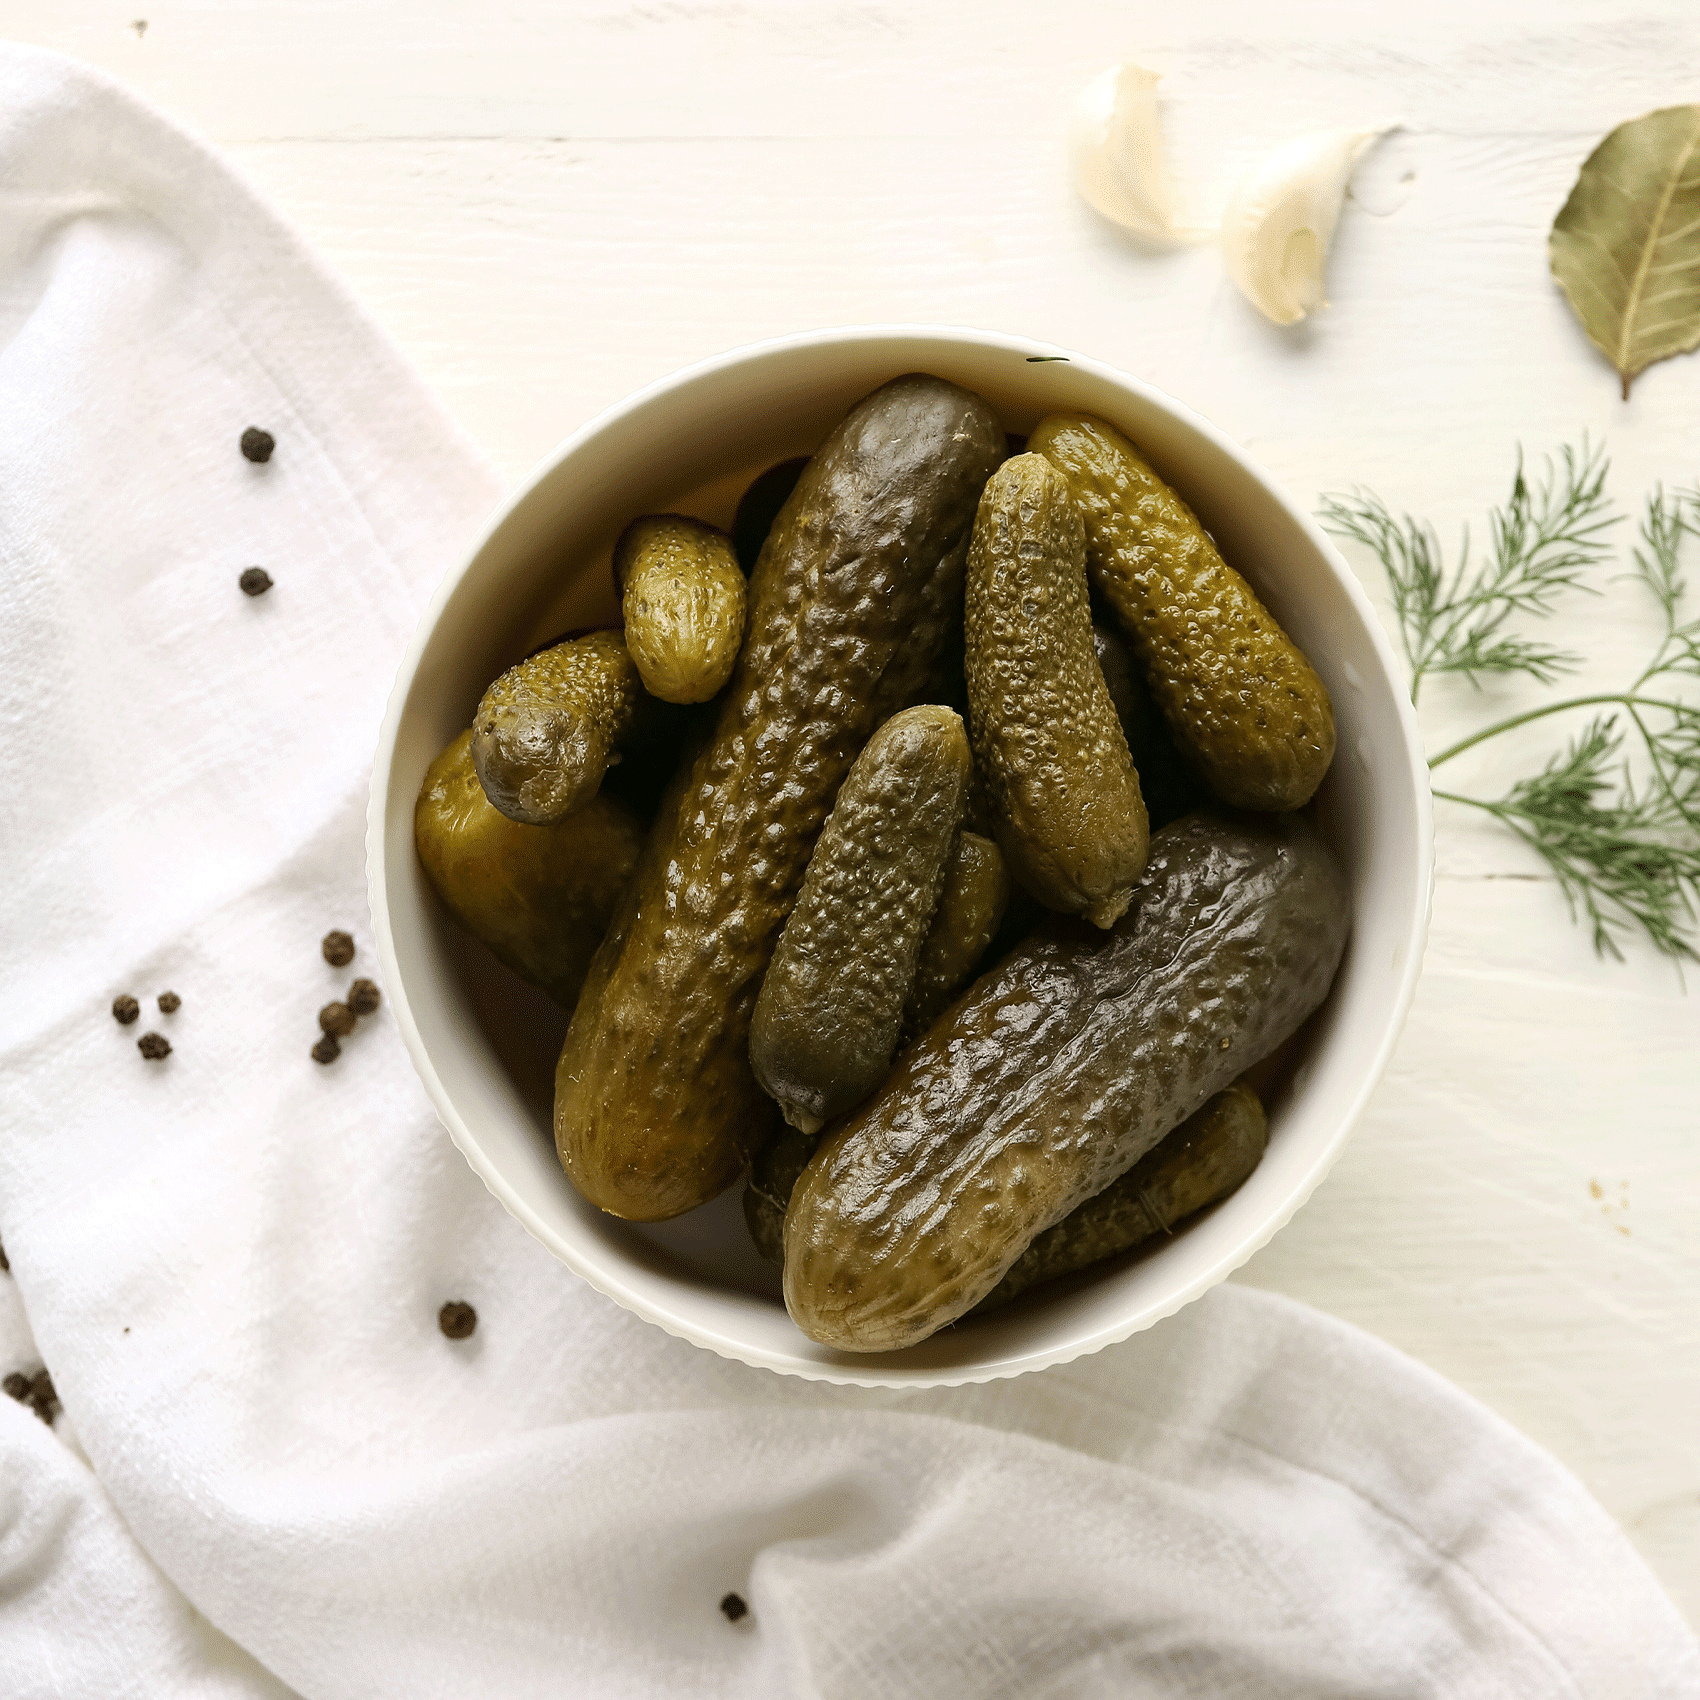
How to store homemade gherkins
An unopened jar keeps for up to 12 months in a cool, dark, and dry place, such as a cellar or a cupboard. Refrigerator storage is also possible and recommended for jars prepared without sterilisation.
Once opened, the jar goes into the refrigerator. Always use clean, dry utensils each time to avoid contamination. Consume within a month of opening to enjoy the best of the texture and flavour.
Wait at least 3 weeks before opening the first jar. This is the minimum time for the brine to fully penetrate the gherkins, for the aromatics to infuse, and for the acidity to stabilise. The peak of flavour is generally reached between 3 and 6 weeks after jarring.
FAQ
The most common cause is a salt-purging step that went on too long. Beyond 3 hours, the salt extracts too much water and irreversibly softens the texture. Choosing small, firm gherkins harvested at the right stage is the other essential condition. Adding a vine leaf or horseradish to the jar can also help reinforce the natural crunch.
A minimum of 3 weeks. This is the time needed for the brine to penetrate fully, for the aromatics to infuse, and for the acidity to stabilise. The result is even better between 4 and 6 weeks.
Not necessarily. The upside-down jar method with boiling brine is sufficient for storage of several months in a cool, dark place. For longer storage beyond one year, or for optimal food safety, sterilisation in boiling water for 20 minutes is recommended.


Subscribe to our Newsletter now
Get a free product for your first order!
Donation